PhotogrammetryVideoInstructions
Instructions for Photogrammetry Video Capture of a Stationary Object
By nickesc  / N. Escobar
This is a part of the project In Our Backyard: A Generational Retrospective. Find the video portion here.
Github repository
Picking an Object
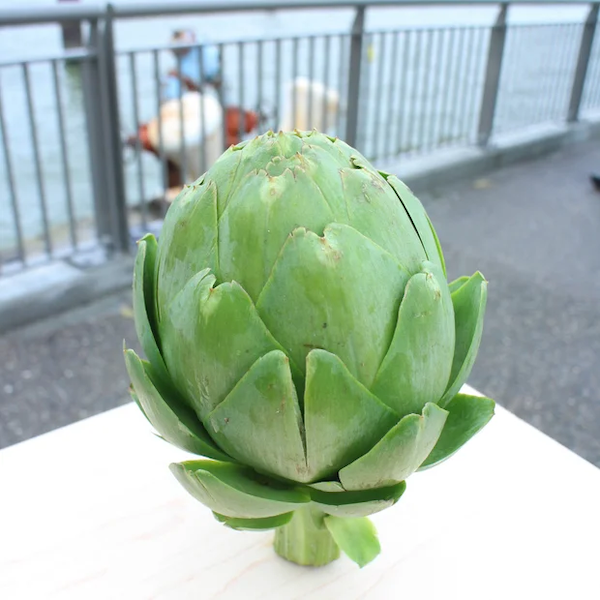
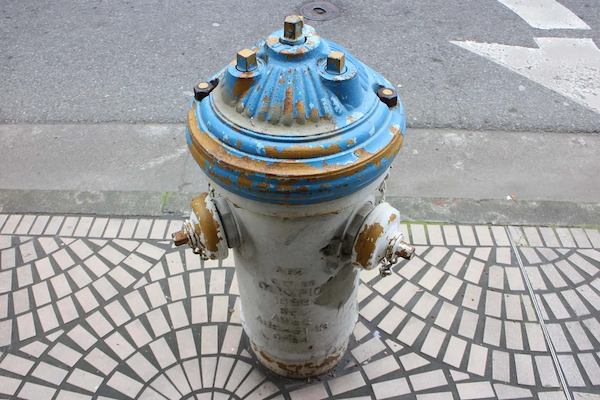
The object should ideally be something with lots of edges and lots of texture.
The photogrammetry software works by triangulating the points from the different angles in each frame of the video. The more texture, edges and patterns the object has, the more information the software gets to work with.
Some good objects:

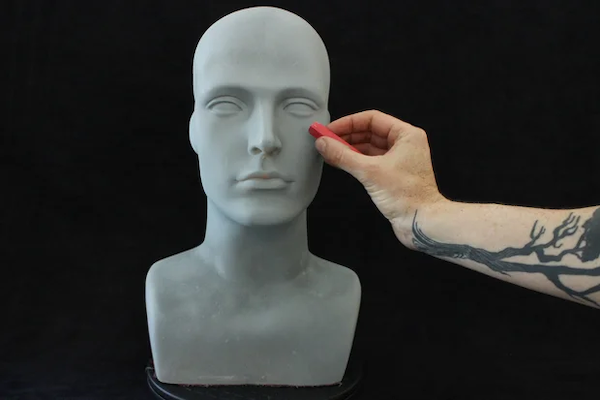
Try to avoid objects that are too smooth, like spherical or cylindrical objects, as well as objects that are shiny, reflective, or clear. Objects that are uniformly one color are also an issue. Objects that would move around a lot (i.e. alive) aren’t ideal, especially if they cannot actually hold perfectly still.
Don’t worry if it isn’t perfect, it can have small smooth or shiny parts as long as the object as a whole isn’t too bad.
Some bad objects:

Capture Setup
Backdrop
Because we don’t have a fancy turntable studio setup, we’ll be capturing the object by walking around it. To get the best result, choose a spot that has a complex, stationary backdrop for your capture.
Just like with picking your object, giving the backdrop more edges, texture and patterns gives the software more information.
Good backdrops would be something like a backyard or a room with a lot of furniture. Just make sure there’s a large enough space around the object to walk all the way around.
Bad backdrops would be rooms with lots of clear space and little furniture, or lots of flat, especially white, surfaces. In the same vein, try to avoid rooms with white walls. Also, avoid someplace busy that people would walk through or that would change while capturing. An empty room with white walls and a dog wandering around would be a very bad choice.
Lighting
It’s important to make sure the object is well, and consistently, lit. The object should be lit from all sides, ideally with the same intensity on all sides. Slight variations are fine and inevitable, but you want to avoid casting shadows, especially harsh ones or ones that move, on your object. Try to use diffused light on your object rather than intense, focused light.
Lighting tips:
- avoid bright spots behind your object from things like lights, uncovered windows, or bright sky
- don’t use your camera’s flash, it will cast moving shadows on your object
- if you choose to light your object with external lights, make sure they are stationary and your object is still lit evenly on all sides; this will likely require multiple lights, especially without a way to diffuse it
- a subtly overcast day outdoors provides ideal lighting conditions
Positioning
You want the item isolated and clear of things immediately around it. And remember, you want to be able to walk all the way around it and see every part of the object.
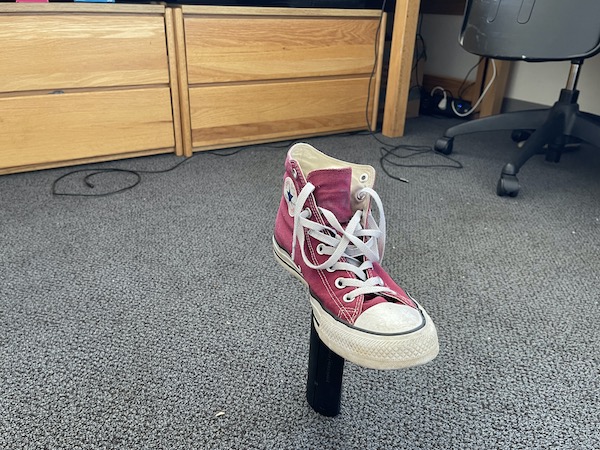
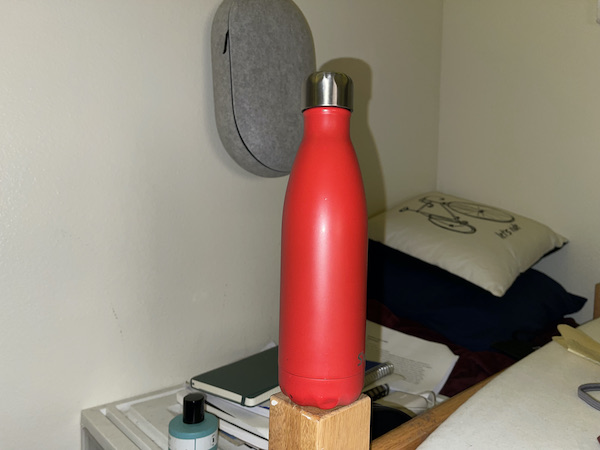
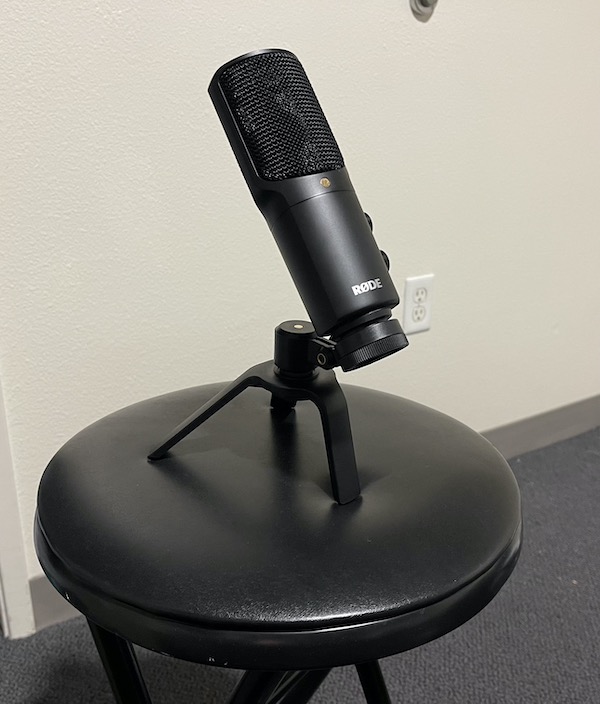
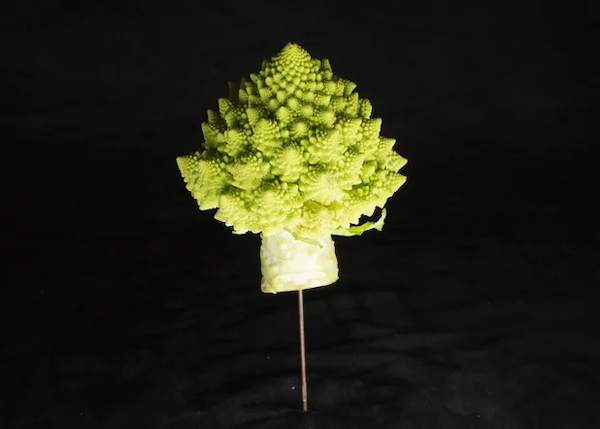
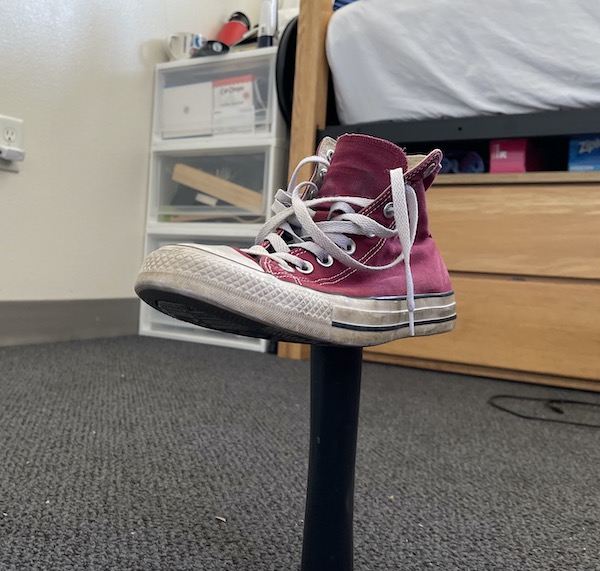
Ideally, you’d put the item on some kind of post or stand. The post should be small and simple. If your object can’t be positioned like that, try to put it on a small, flat table or pedestal.
Positioning Examples:
Capturing
The exciting bit! Now that your object is ready, you can finally start capturing it. Almost – just make sure your phone is set to capture video at the highest quality.
On iOS devices, this is found in the
Settings app >
Camera > Record Video
If it’s available, set the first option to4K at 60 fpsIf you know how, set the exposure and white balance on your camera to manual, set them and leave them. Otherwise, you’re ready to start shooting.
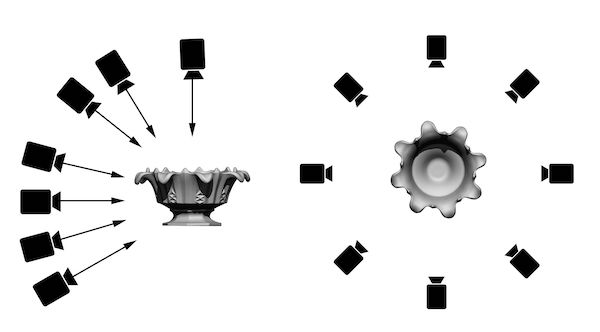
The idea here is to walk around your object, taking a single video to get coverage of the entire thing. You can use either portrait or landscape modes, whichever helps frame your object better. Make sure the object is centered and focused for the entire video.
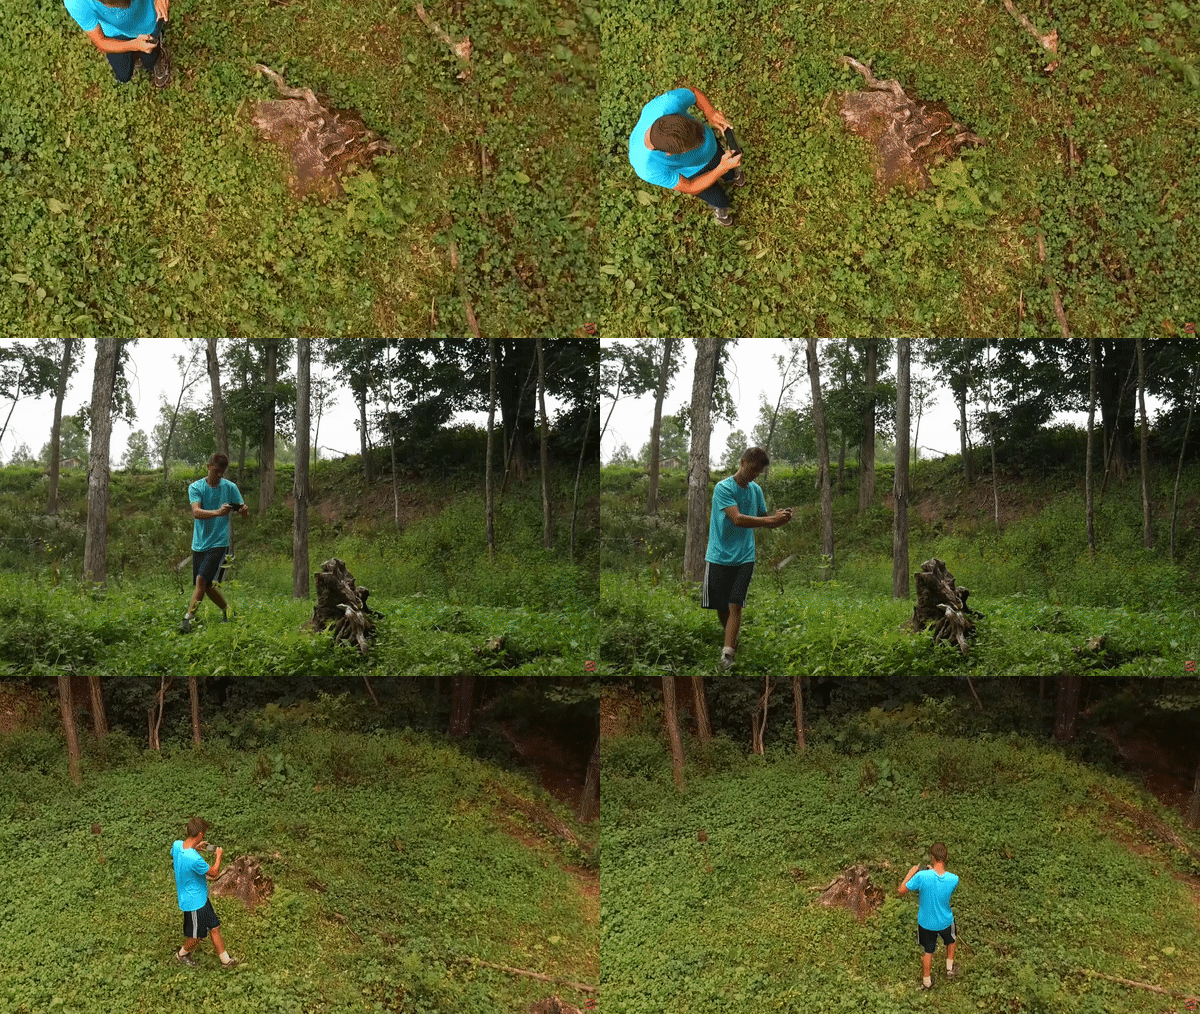
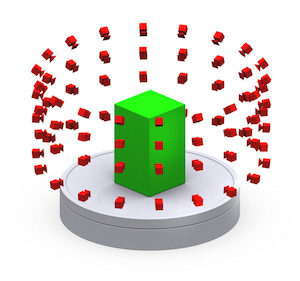
You want to walk 360º around the object, taking passes at different heights and angles (emphasis on and) like in
fig 1.1andfig 1.2.In the end, you should have shots in the video forming something like the sphere shape in
fig 1.3.
fig 1.1(left) andfig 1.2(right)2
fig 1.33
After you do the passes around, make sure you get above and below the object to capture the top and bottom, and around any corners or folds to ensure everything has been captured and to get more granular detail.
You should gradually bring the camera closer to the object, getting clearer shots of details and things that the camera missed in other passes. Just don’t get too close too fast or the software won’t be able to connect the closer shots to the farther ones.
Capture tips:
- keep the camera at a consistent distance as you make your passes
- your object should fill most of the frame, but you should still capture some background and try to make sure the entire object is in frame
- keep the camera steady and smooth, don’t make any sudden moves or point the camera away from the object; try to make sure the video isn’t blurry at all
- videos should only be about one minute – each frame has a lot of information
Samples
Watch this sample scan to get an idea of what your video should look like:
Sample Scan (also at
sample/sampleVideo.mp4)
And to get an idea of what the final product will look like after processing, you can watch this short render from that sample scan
Sample Render 4K (also at
sample/sampleRender.mov)
In the sample/
directory, you’ll also find samplePointCloud.ply,
which holds the point cloud made from the video by the photogrammetry
software. This can be viewed with a *.ply viewer, and you can explore
the point cloud if you cannot make one yourself.
